I’ve been terrible about posting while ashore. Perhaps its because I don’t anticipate the mundane yard work is of general interest. Or maybe I’m just exhausted every evening. Regardless, I haven’t been doing a very good job of sharing information.
I could probably fill you in on everything that has happened until now but that would be too much information. So this entry will share a few highlights from the past month and I’ll do my best to post more frequently going forward.
Probably the biggest highlight for me was flying home for Thanksgiving. It was nice to see Nicholas and those other people. I was particularly thankful this year for carbohydrates and cranberry sauce.
I missed these guys
Much has been going on in the boatyard over the past month. The removal and application of bottom paint went smoothly. A full strip to bare gelcoat and epoxy barrier coat and fairing may still be in Andante’s future but that would have been overkill this year. Thanks for your input on colors: She looks great with her new green bottom.
The two other big jobs I was looking forward to were the replacement of the steering chain and cable (and two worn sheaves) and installation of new engine control cables. The steering work was much easier to accomplish on land than in the water. But boy was it messy. And cramped. And did I mention messy?
But after dreading it for months it was strangely enjoyable to do and very satisfying to complete. And given the critical importance of both steering and engine control and the unknowns of 30+ years of stainless steel crevice corrosion, getting these jobs done is a real confidence boost as I contemplate heading further offshore.
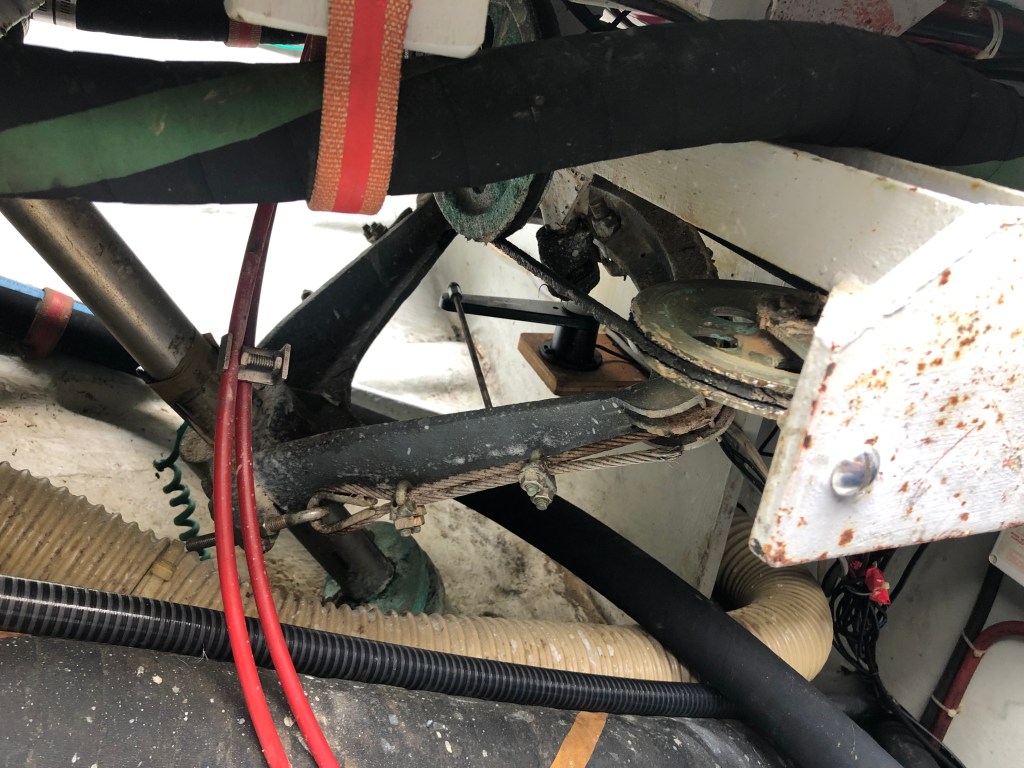
A view underneath the cockpit before cleanup started. Access is through sail lockers on either side of the cockpit. The steering chain and cables translate movement of the steering wheel to movement of the rudder. For several decades the maintenance of the steering system appears to have consisted of smearing heavy grease on the cable and the bronze sheaves. The red cables on the left are the existing (and likely original) engine control cables. These are constructed much like the brake cables on a bicycle and translate motion of the speed and gear levers at the helm to controls on the engine and transmission. In the confined space under the cockpit it was hard to get far enough away to take a photo of the entire steering system. The key element is the steering quadrant that is keyed to the rudder post. The steering cables engage the quadrant and make it rotate. The cables are pre-stretched 1/4″ 7×19 wire rope — but they will still stretch more when loaded. I expect to be checking on their tension regularly for the next few months. Topside end of the old engine control cables at the helm. Somehow these got really greasy too. The black lines are tracers I attached to the old steering cables to allow the new ones to be sucked into the correct path through the various sheaves. New steering chain and cables before installation. The chain is about twice the size of a bicycle chain and is made of stainless steel. I have no idea how many times I climbed into and out of those lockers. But my knees know exactly how many times.My feet. And also the internals of the steering pedestal. The steering chain (barely visible) rides on a sprocket attached the the wheel shaft. The mechanism at the top is the wheel brake – tightening a knob on the starboard side of the pedestal clamps brake shoes against the shaft and locks the wheel. And the black and yellow wires provide power to the compass light — the compass usually sits on top of the pedestal.
Every day here is full of little jobs too numerous to relate. For example, today I climbed the mast (twice) to fix a navigation light that was acting erratically. And replaced screws in the starboard chainplate covers. And prepared to sew new zippers on the bimini. And inventoried the supply of flares and smoke canisters.
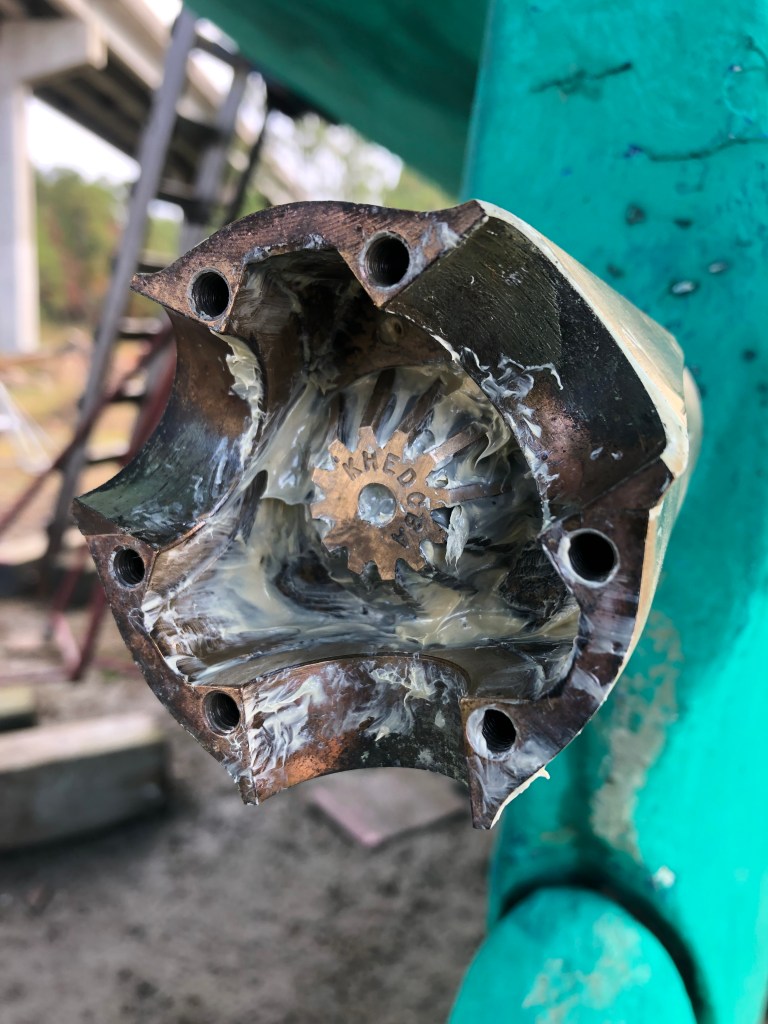
A few of the more notable jobs over the past month (defined as those for which I took photos) included removal of a 25 gallon water tank to free up some prime storage space, cleaning and polishing the prop, and installing a new seawater foot pump in the galley to save water when washing dishes.
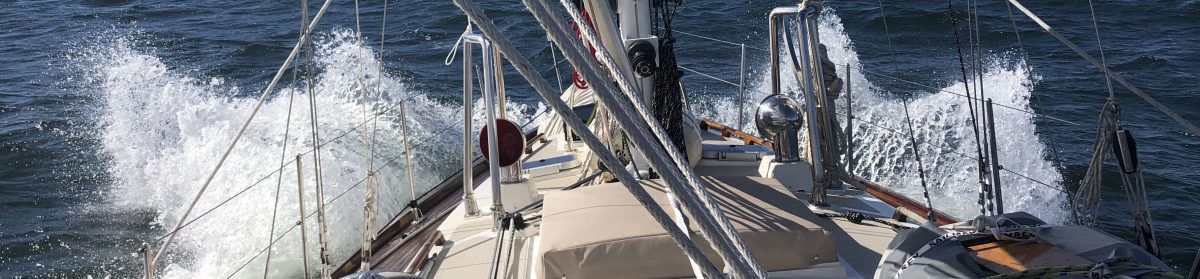
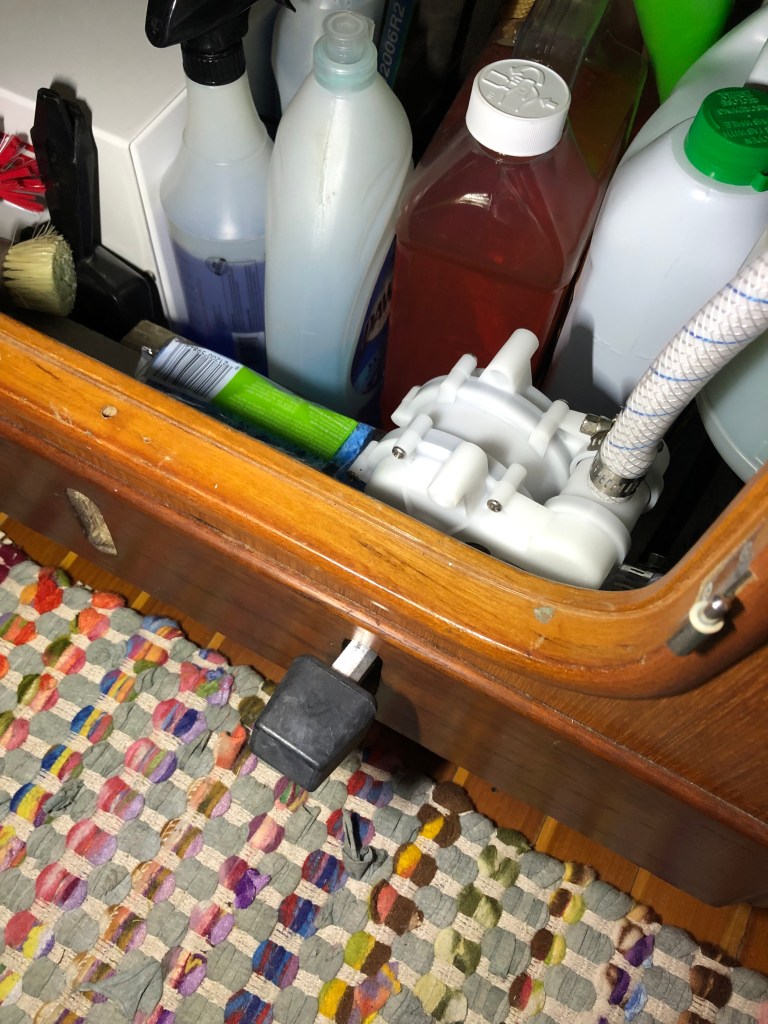
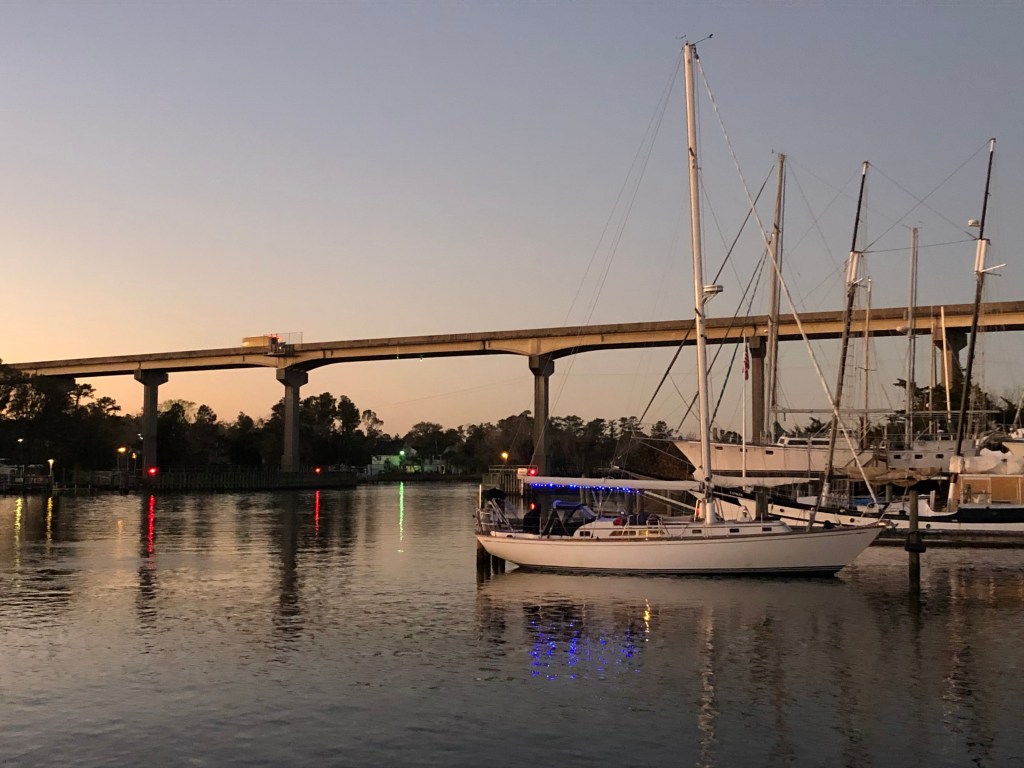
The old port upper forward water tank (25 gallons). Removing this created a convenient spot in the main cabin to store all sorts of things and allowed some of the plumbing in this area to be simplified and/or removed — again gaining space for storage. Our total water capacity is now about 160 gallons which is still quite good for a boat this size and perfectly adequate for a crew of 1-2. With a few adjustments (e.g. salt water pump in the galley, drinking more beer) we should be able to delay installation of a water maker for several years.I like a smooth and shiny prop. Hopefully the evil barnacles do not.New foot pump in the galley provides seawater for washing dishes. I hadn’t really planned to share a photo of all the other stuff under the sink, but there it is. In case you are wondering, Dawn makes a nice lather in salt water. Even really cold salt water.Andante back in the water. Traffic noise isn’t as annoying at the dock as it was under the bridge. And it is very nice to feel the boat move again even if just gently rocking from passing boat wakes. (Feeling the boat move while on land was a definite no-no).
Schedule update: I’ll be in NC until a few days before Christmas and will return to NC a few days after Christmas. Weather permitting, I hope to cast off and begin heading south again shortly thereafter. There will be a few days of fueling and watering and provisioning in Beaufort before we head out into the Atlantic.
We’ve been at Bock Marine in Beaufort for a week now and are feeling pretty settled. Life in the yard at the top of a 12 ft ladder is not as enjoyable as life at sea — but its still fun and very satisfying to see progress on many different projects.
The yard provides a nice clean lounge with showers and laundry facilities.
Lounge area with TV and lots of books. Laundry machine works well even though the water is powerfully stinky.
Outside the lounge everything is dirty. The ground in the yard is not gravel or crushed stone. It is a mixture of sand and mud and the detritus of years of sanding fiberglass and wood and paint. Also, coastal North Carolina is pretty low and flat. Drainage is not really a thing here. The ground stays soft and squishy for days after a big rain.
My front door is not nearly as appealing after a heavy rain. Mud and grit get stuck in your shoes and tracked pretty much everywhere.I got a good floor mat to catch some of the grit that would otherwise be tracked into the cabin. And I found a couple of cheap solar lights to make nighttime ladder climbing a little safer.
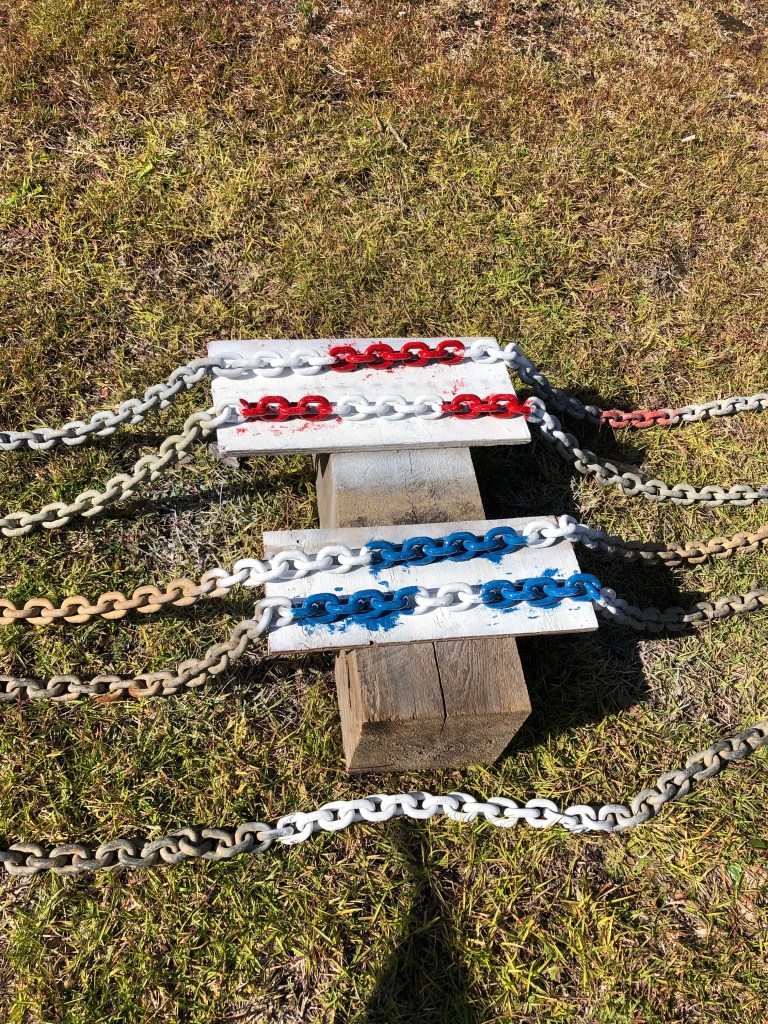
In the last few days I’ve cleaned and repitched the prop, end-for-ended and repainted the anchor chain, repaired some hull dings gifted by the previous owner, sealed the deck and stripped varnish from the toe rail, handrails and eyebrow.
The grease packed inside the prop is very sticky and resistant to being washed out. Which is good – but makes it really fun to remove.The anchor chain is probably on its last year as the galvanizing is wearing pretty thin. I cut off some particularly rusty sections on both ends, swapped the working end, and measured and repainted marks at 25 ft intervals. Our 250 ft of 3/8″ BBB chain weighs 400 lbs.
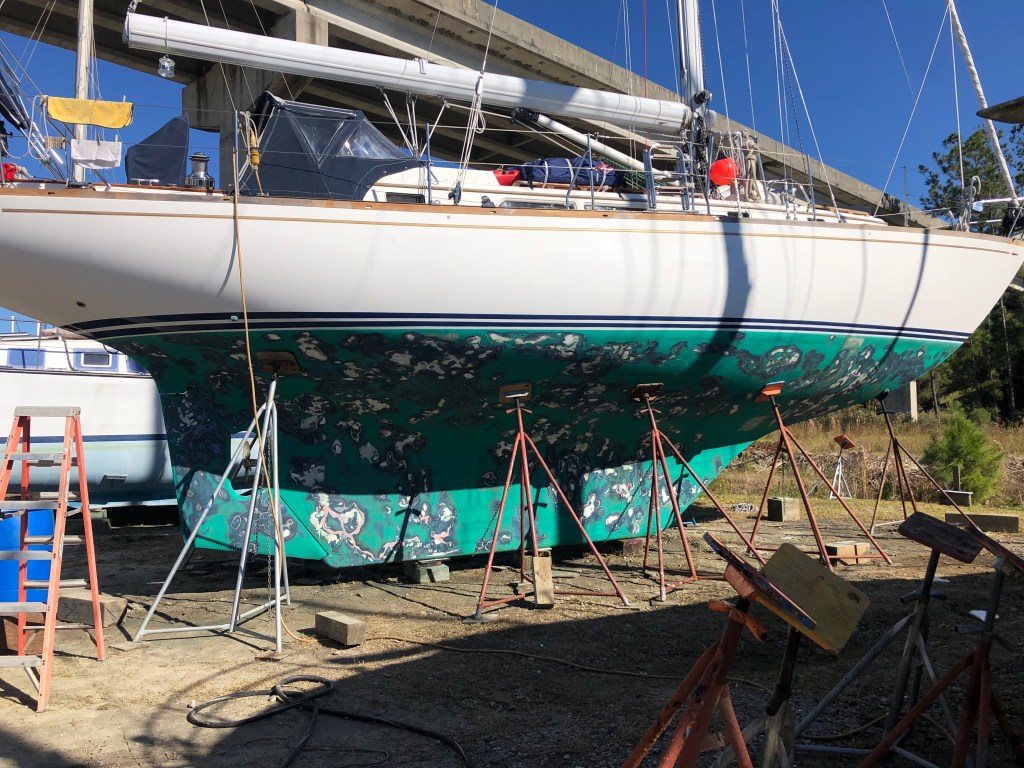
The biggest job so far has been removing as much of the old crusty bottom paint as time and budget allows. Two young men from the yard spent yesterday sanding and chipping.
40 grit sandpaper removes material (including fiberglass) very quickly. The Bock guys did a good job removing the worst of the paint buildup without damaging the hull.Not her best look.
I applied the first of 2-3 coats of Petitt Hydrocoat antifouling bottom paint earlier today. The stuff is water based so cleanup is easy and it doesn’t smell (or melt your brain) like most solvent-based paints. And it sticks to everything so there is no need to remove all of the underlying paint.
First coat of new paint. The bottom is definitely smoother than before and I’m less concerned about big chunks of paint flaking off. Maybe one day she’ll have a perfectly fair racing finish. Not today.
The weather looks great this week so expecting to do more painting tomorrow and Thursday. Then on to seacock maintenance, more varnish stripping and sanding and some preliminary work under the cockpit to prepare for running new steering and engine control cables. Good fun.
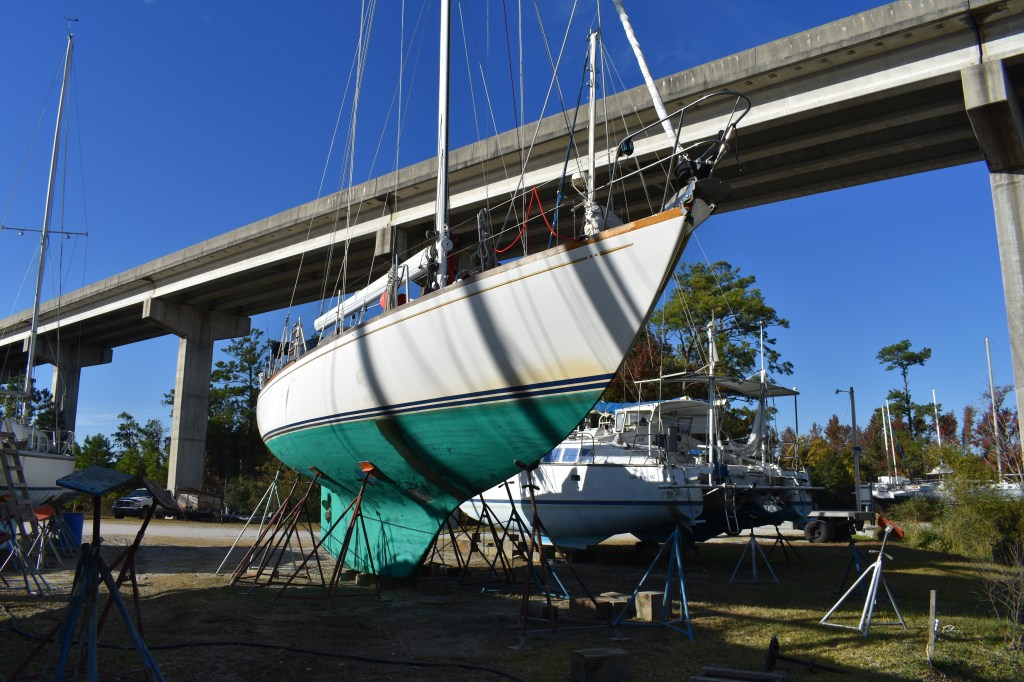
Early this afternoon the Bock Marine team plucked Andante from the water, gave her a quick bath, and plopped her down in a dusty field under a highway bridge. Quite the change in environment from just a few days ago but exactly where we need to be to get some work done.
Always a little nervous to see the boat lifted out of its natural element. Also, I watch too many boat fail videos on YouTube. Fortunately these guys are really skilled and everything went smoothly.The hull was not nearly as fouled as I anticipated. Most of the slimy growth came off quickly with the pressure washer. A few small barnacles were easy to scrape off.I’m pretty sure we wouldn’t clear the bridge this time. Fortunately we parked just off the road before reaching the span.All blocked up. First job tomorrow will likely be an acid wash of the hull to get rid of the nasty brown ICW tannin stains. Later I’ll give the hull a good compounding and waxing that should help prevent future stains.
After careful examination of the bottom condition there is no overwhelming reason to remove all of the existing bottom paint. No blisters were found and there is only minimal chipping where the old paint is very thick.
So instead of sandblasting and then barrier coating and then painting, I’ve asked the yard to have two guys spend one day sanding with the goal of smoothing out the existing substrate rather than removing all traces of paint. The water-based antifouling I will apply (Pettit Hydrocoat) sticks to just about anything so there are no worries with compatibility. And in keeping with our speed expectations (moderately slow) a perfectly burnished racing finish is just not worth the time and expense.
The big question now is what color? The sanding will cut through the existing green and several older layers of black and blue. Am trying to decide between green, red, or black for the new bottom paint. They all work the same – strictly a cosmetic choice. Anybody have a preference?
My front door for the next month or so. Wipe your feet please.